
Getting Started with momoChef Web App
Welcome to momoChef! This guide will help you get up and running quickly with your new recipe management system.
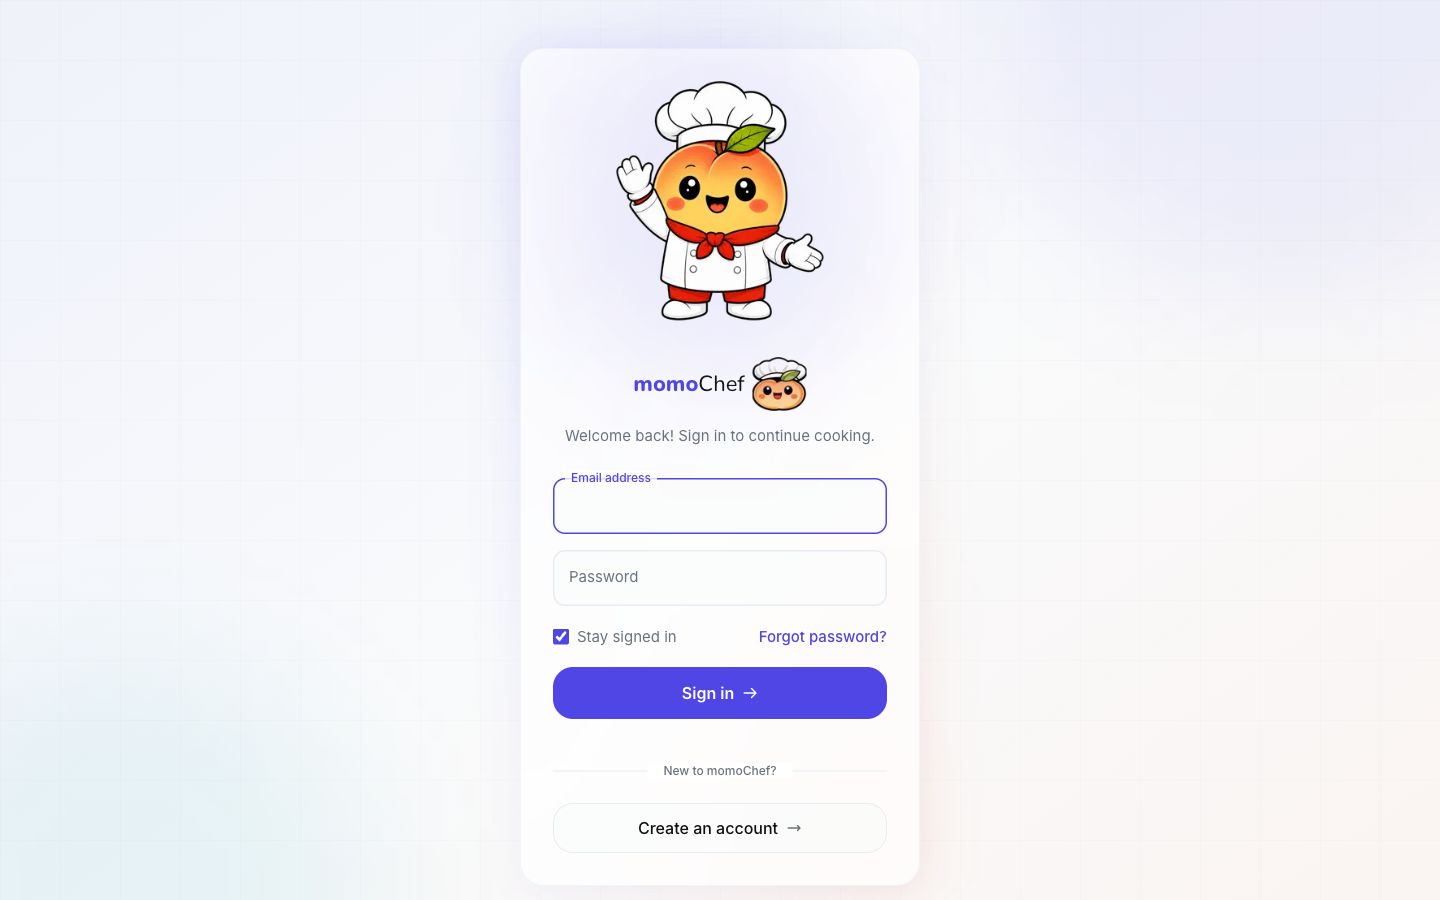
Creating Your Account
Getting started with momoChef is simple. You can sign up using your email address or through a social login provider.
Sign Up Options
- Email Signup: Enter your email address and create a password. You'll receive a verification email to confirm your account.
- Google Sign-in: Click the Google button to sign up or log in using your Google account.
- Apple Sign-in: On iOS devices, you can use Sign in with Apple for quick access.
Tip:If you sign up with email, make sure to check your spam folder if you don't receive the verification email within a few minutes.
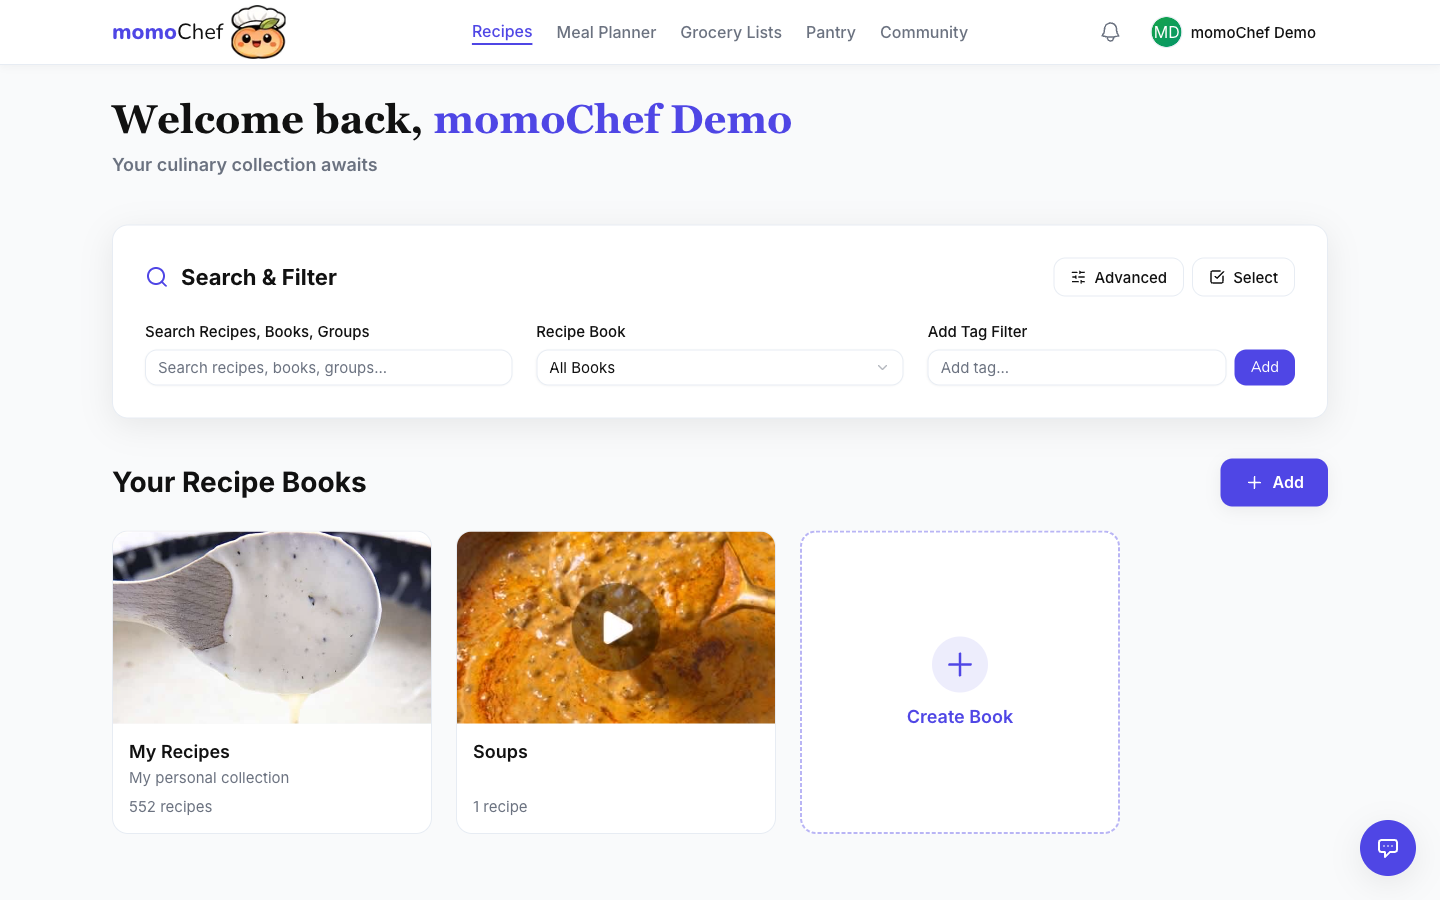
Dashboard Overview
After logging in, you'll land on your dashboard. This is your home base for accessing all of momoChef's features.
Navigation Sidebar
The main navigation is located on the left side of the screen. Here's what you'll find:
- Home: Your personalized dashboard with recent activity and suggestions
- Recipes: Browse, search, and manage all your recipes
- Meal Plans: Plan your meals with the calendar view
- Grocery Lists: Create and manage shopping lists
- Community: Discover public recipes and connect with other cooks
- Messages: Chat with friends and share recipes
- Settings: Manage your account and preferences
Quick Actions
On the dashboard, you'll find quick action buttons for common tasks:
- Add Recipe: Create a new recipe from scratch or import from URL
- New Meal Plan: Start planning your meals for the week
- Create Grocery List: Generate a shopping list from your meal plan
Basic Navigation
momoChef is designed to be intuitive and easy to navigate. Here are some tips to help you get around:
Using the Search
The search bar at the top of the page lets you quickly find recipes by name, ingredient, or tag. Just start typing and results will appear instantly.
Recipe Books
Recipes are organized into books. By default, you have a personal "My Recipes" book. You can create additional books to organize recipes by category, cuisine, or any system that works for you.
- Click Recipes in the sidebar to see all your books
- Click on a book to view its contents
- Use the + New Book button to create a new collection
Breadcrumbs
Navigation breadcrumbs at the top of each page show your current location and let you quickly jump back to parent pages.
Tip: Use keyboard shortcuts! Press ? anywhere in the app to see available keyboard shortcuts.
Creating Your First Recipe
Let's create your first recipe to get familiar with the recipe editor.
Step 1: Start a New Recipe
Click the Add Recipebutton in the sidebar or on your dashboard. You'll see several options:
- Create Manually: Type in your recipe details
- Import from URL: Paste a recipe URL to auto-import
- Import from Photo: Upload a photo of a recipe (Premium)
- Import from File: Upload a JSON or ZIP file
Step 2: Enter Recipe Details
If creating manually, fill in the basic information:
- Title: Give your recipe a descriptive name
- Description: A brief summary or backstory
- Servings: How many people this recipe serves
- Prep Time: How long preparation takes
- Cook Time: How long cooking takes
- Photo: Upload an image to make your recipe shine
Step 3: Add Ingredients
Enter each ingredient on its own line. momoChef will automatically parse:
- Quantity (e.g., "2")
- Unit (e.g., "cups")
- Ingredient name (e.g., "all-purpose flour")
- Notes (e.g., "sifted")
Example: 2 cups all-purpose flour, sifted
Step 4: Add Instructions
Enter each step of the recipe. You can:
- Add multiple steps (each becomes a separate instruction card)
- Include timers in your instructions (e.g., "Bake for 30 minutes")
- Format text with bold, italic, or links
Step 5: Save Your Recipe
Click Save Recipewhen you're done. Your recipe is now saved and ready to use!
Tip: You can always edit a recipe later. Just click the Edit button on any recipe page.
Next Steps
Now that you're set up, here are some suggested next steps to get the most out of momoChef:
- Learn more about managing recipes including organization, tags, and search
- Set up your first meal plan to plan your week
- Create a grocery list from your meal plan
- Import recipes from your favorite websites
Need Help?
If you have any questions or run into issues, we're here to help:
- Browse our FAQ for common questions
- Check out our Troubleshooting guide
- Contact our support team for personalized assistance